Printing a moveable stopper
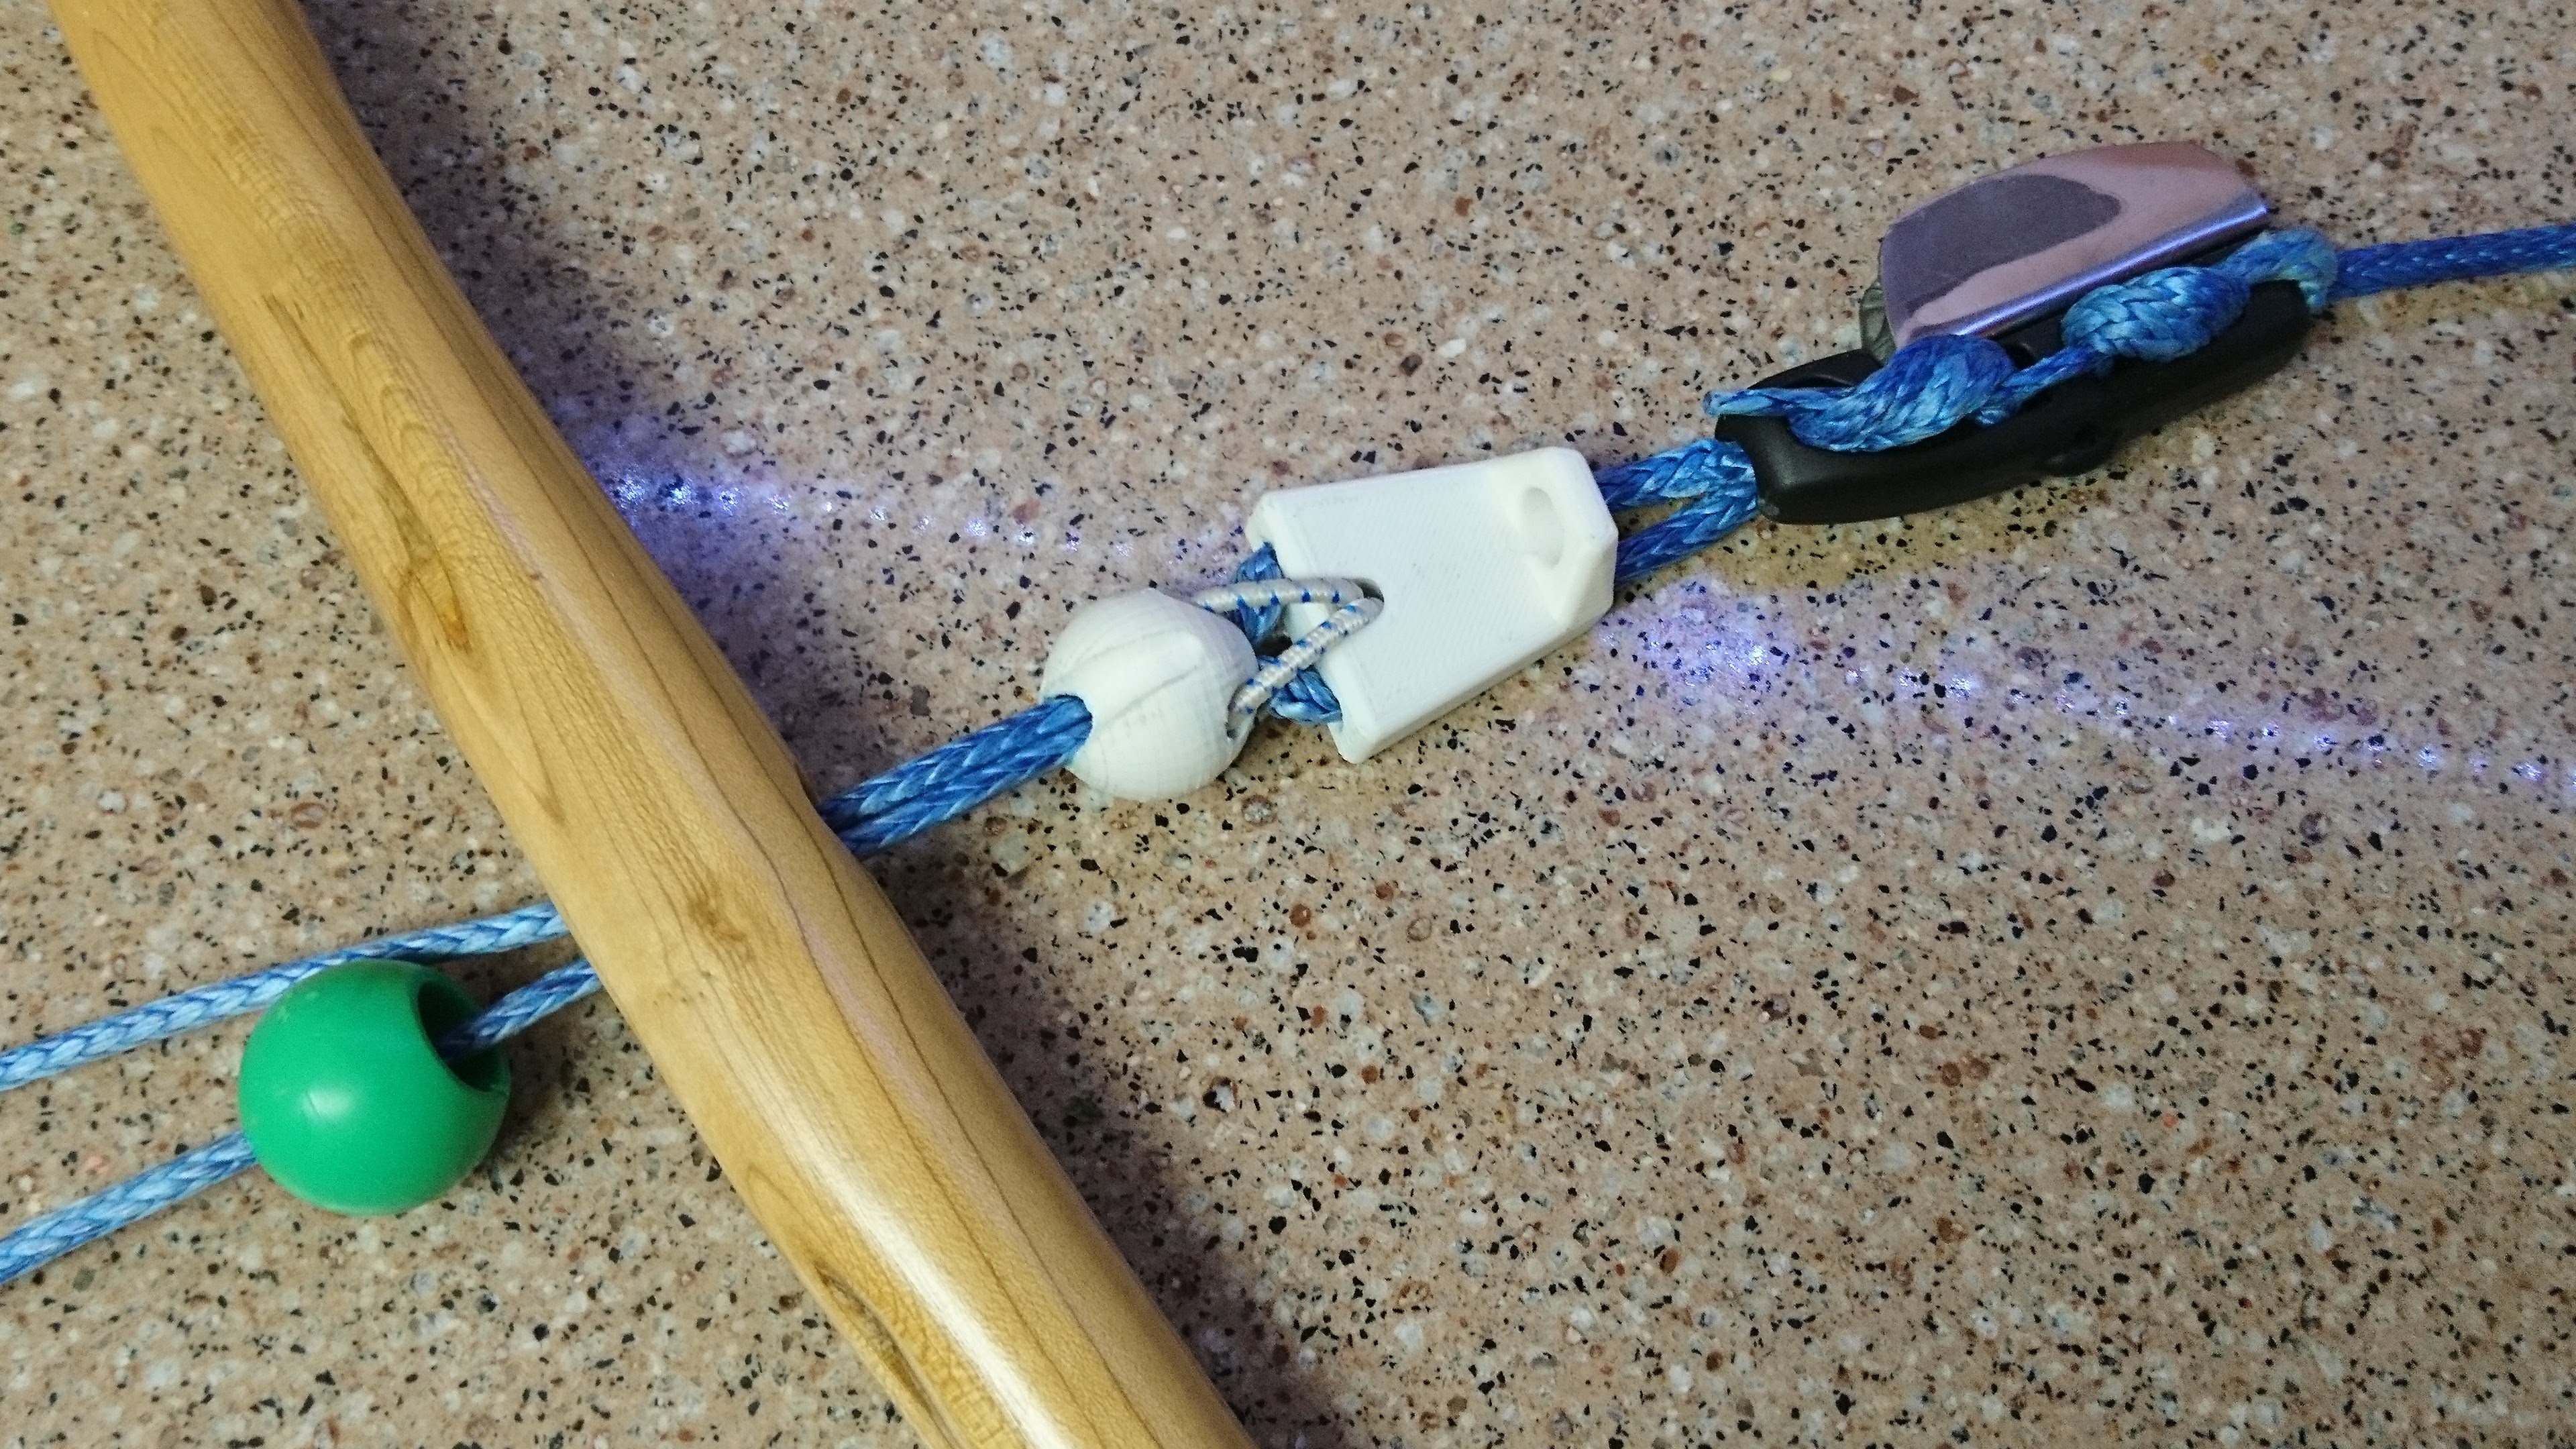
Making a moveable stopper easy to manufacture
The moveable stoppers I have made work quite well, but they are hard to manufacture. The trapezoidal blocks require 15 steps executed with a chop saw, router table, drill press, 3 hand tools, a vise, and a couple jigs. The balls require only a drill press and a few hand tools, but clamping a sphere is extremely difficult. Even when the clamping is mastered, drilling into the oblique surfaces of the sphere causes the drill bit to wander. Maintaining dimensional control on either part is tricky. The parts are beautiful and feel good, but they are challenge to make well.
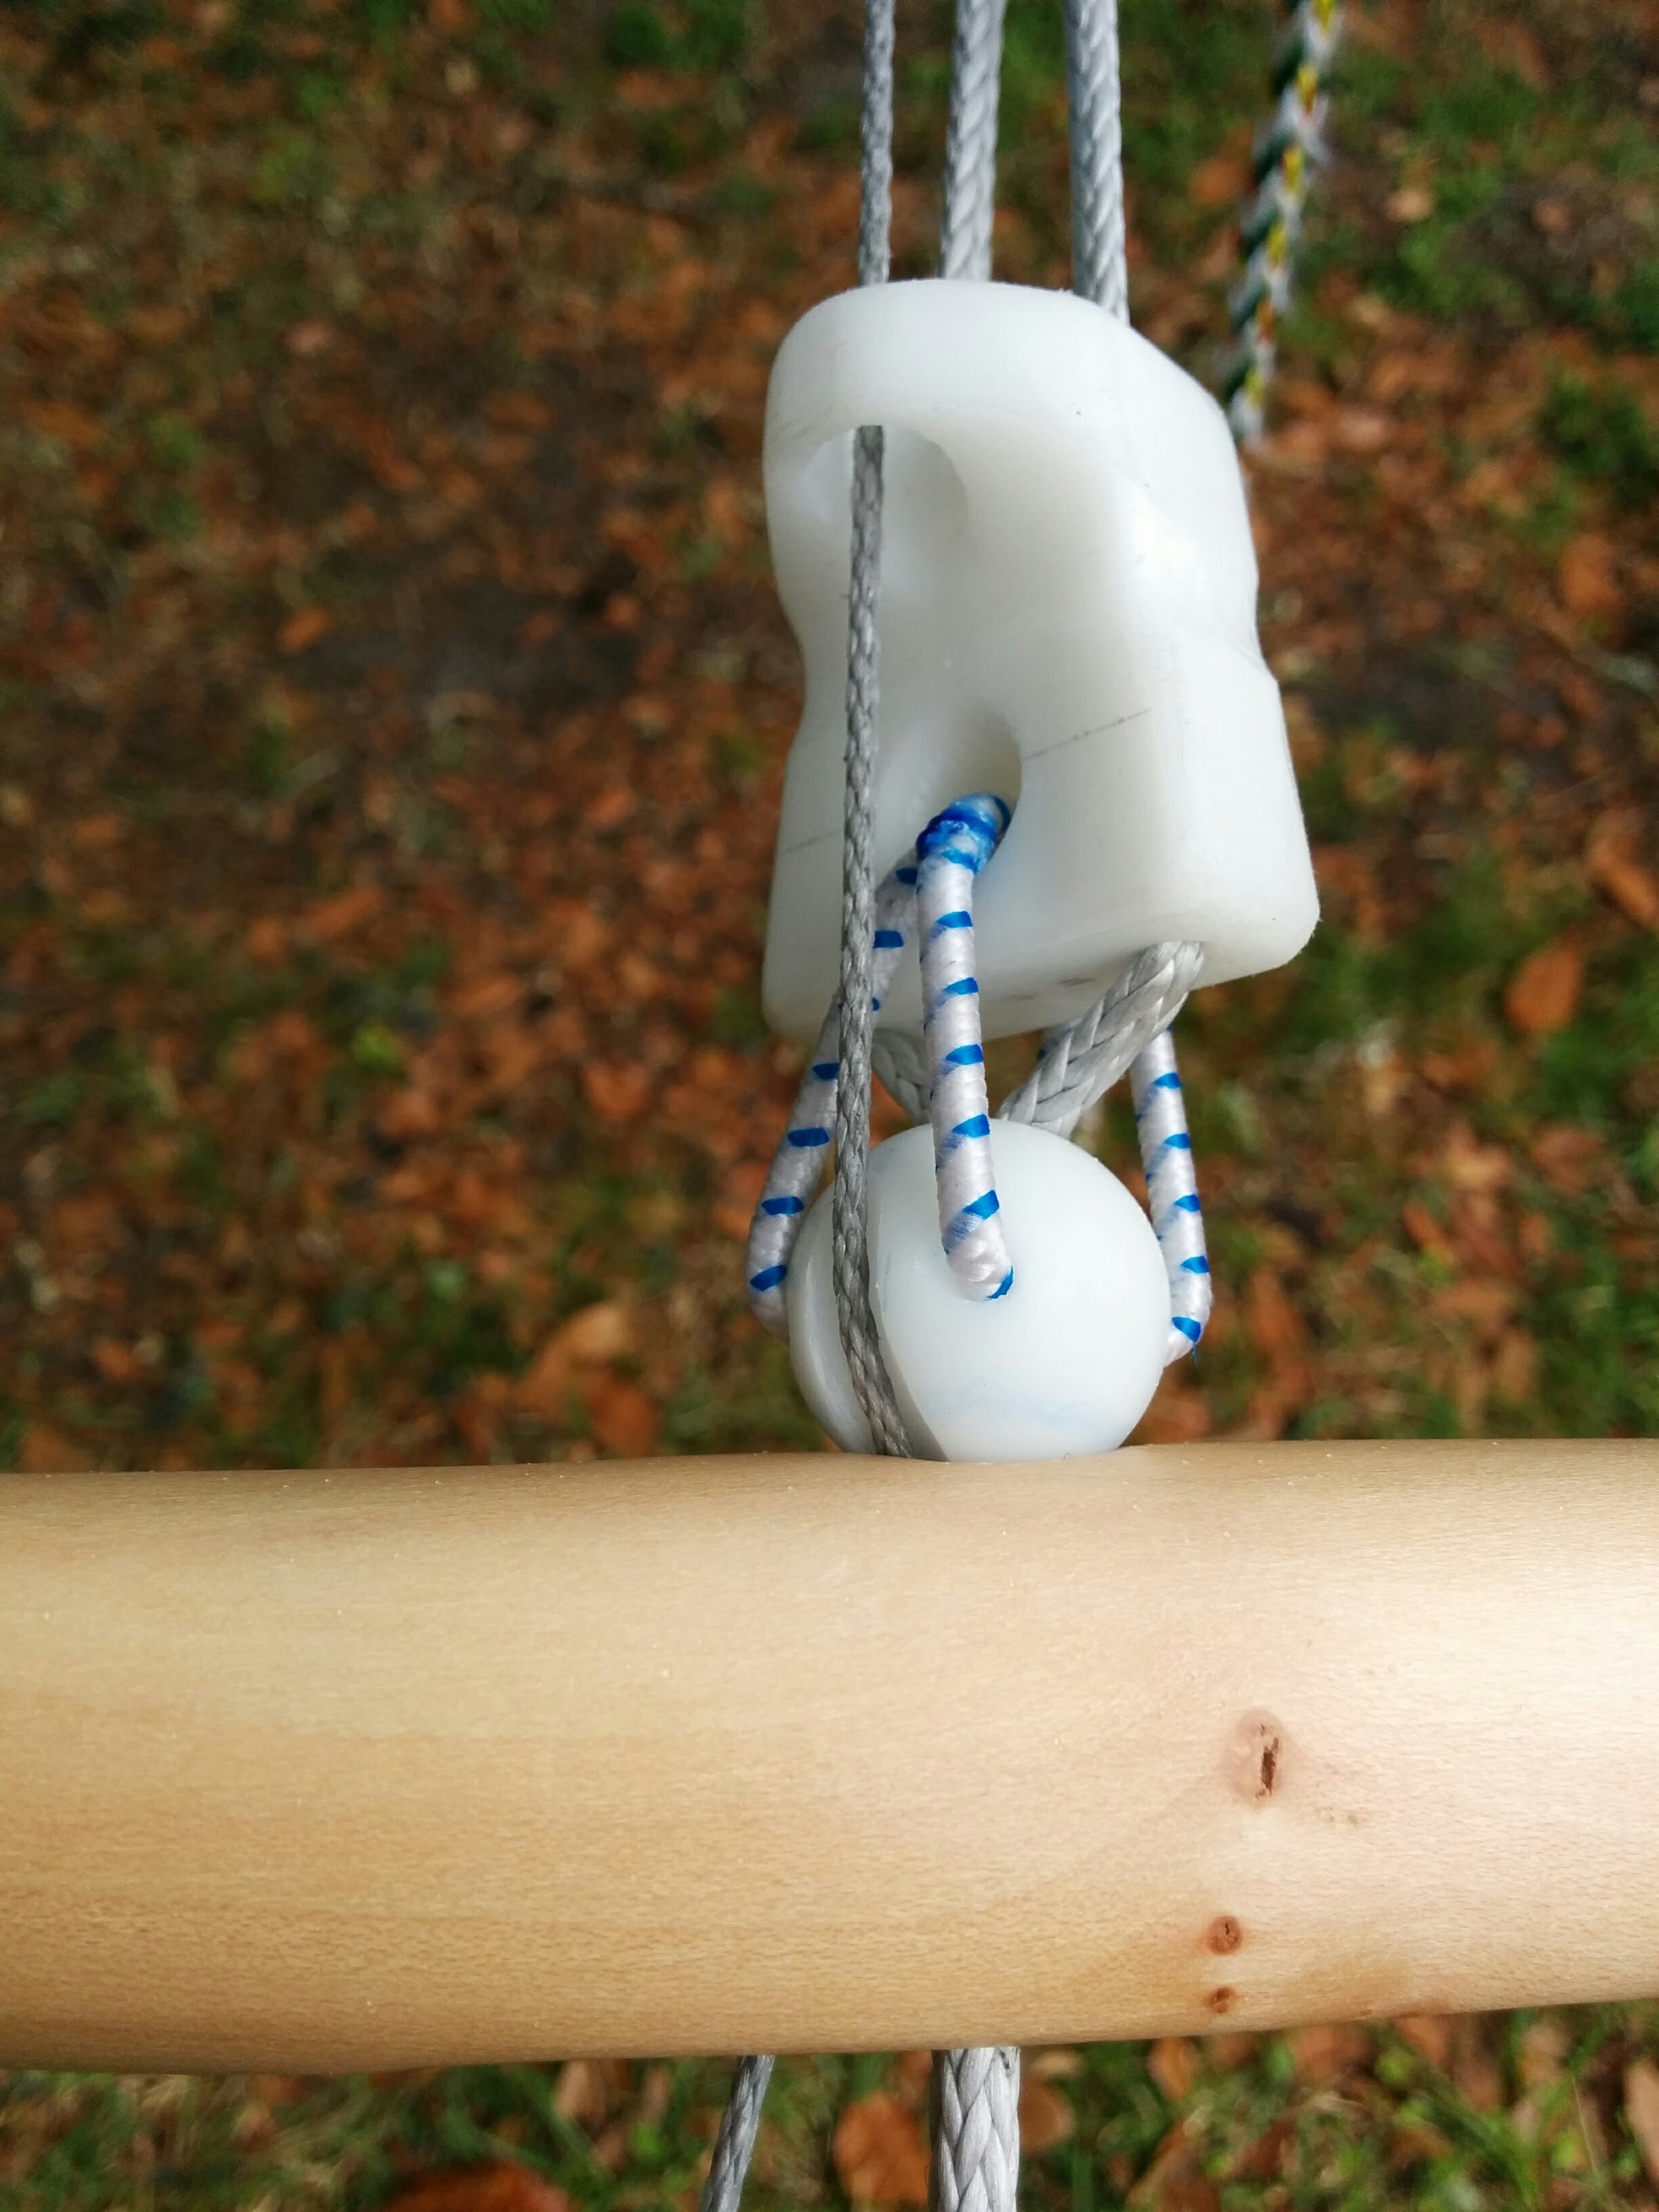
3D printing models can vastly simplify their manufacture. While 3D printing has its own technical challenges, it is a single tool compared to the list of 7 or more just to make a block.
Making stoppers better
The other advantage of 3D printing is the freedom it affords to the design when compared to machine tools. In 3D-printed designs, holes can have elliptical cross sections and take curved paths. Concavities don’t require material removal. Curved exterior surfaces don’t make clamping for the next step difficult.
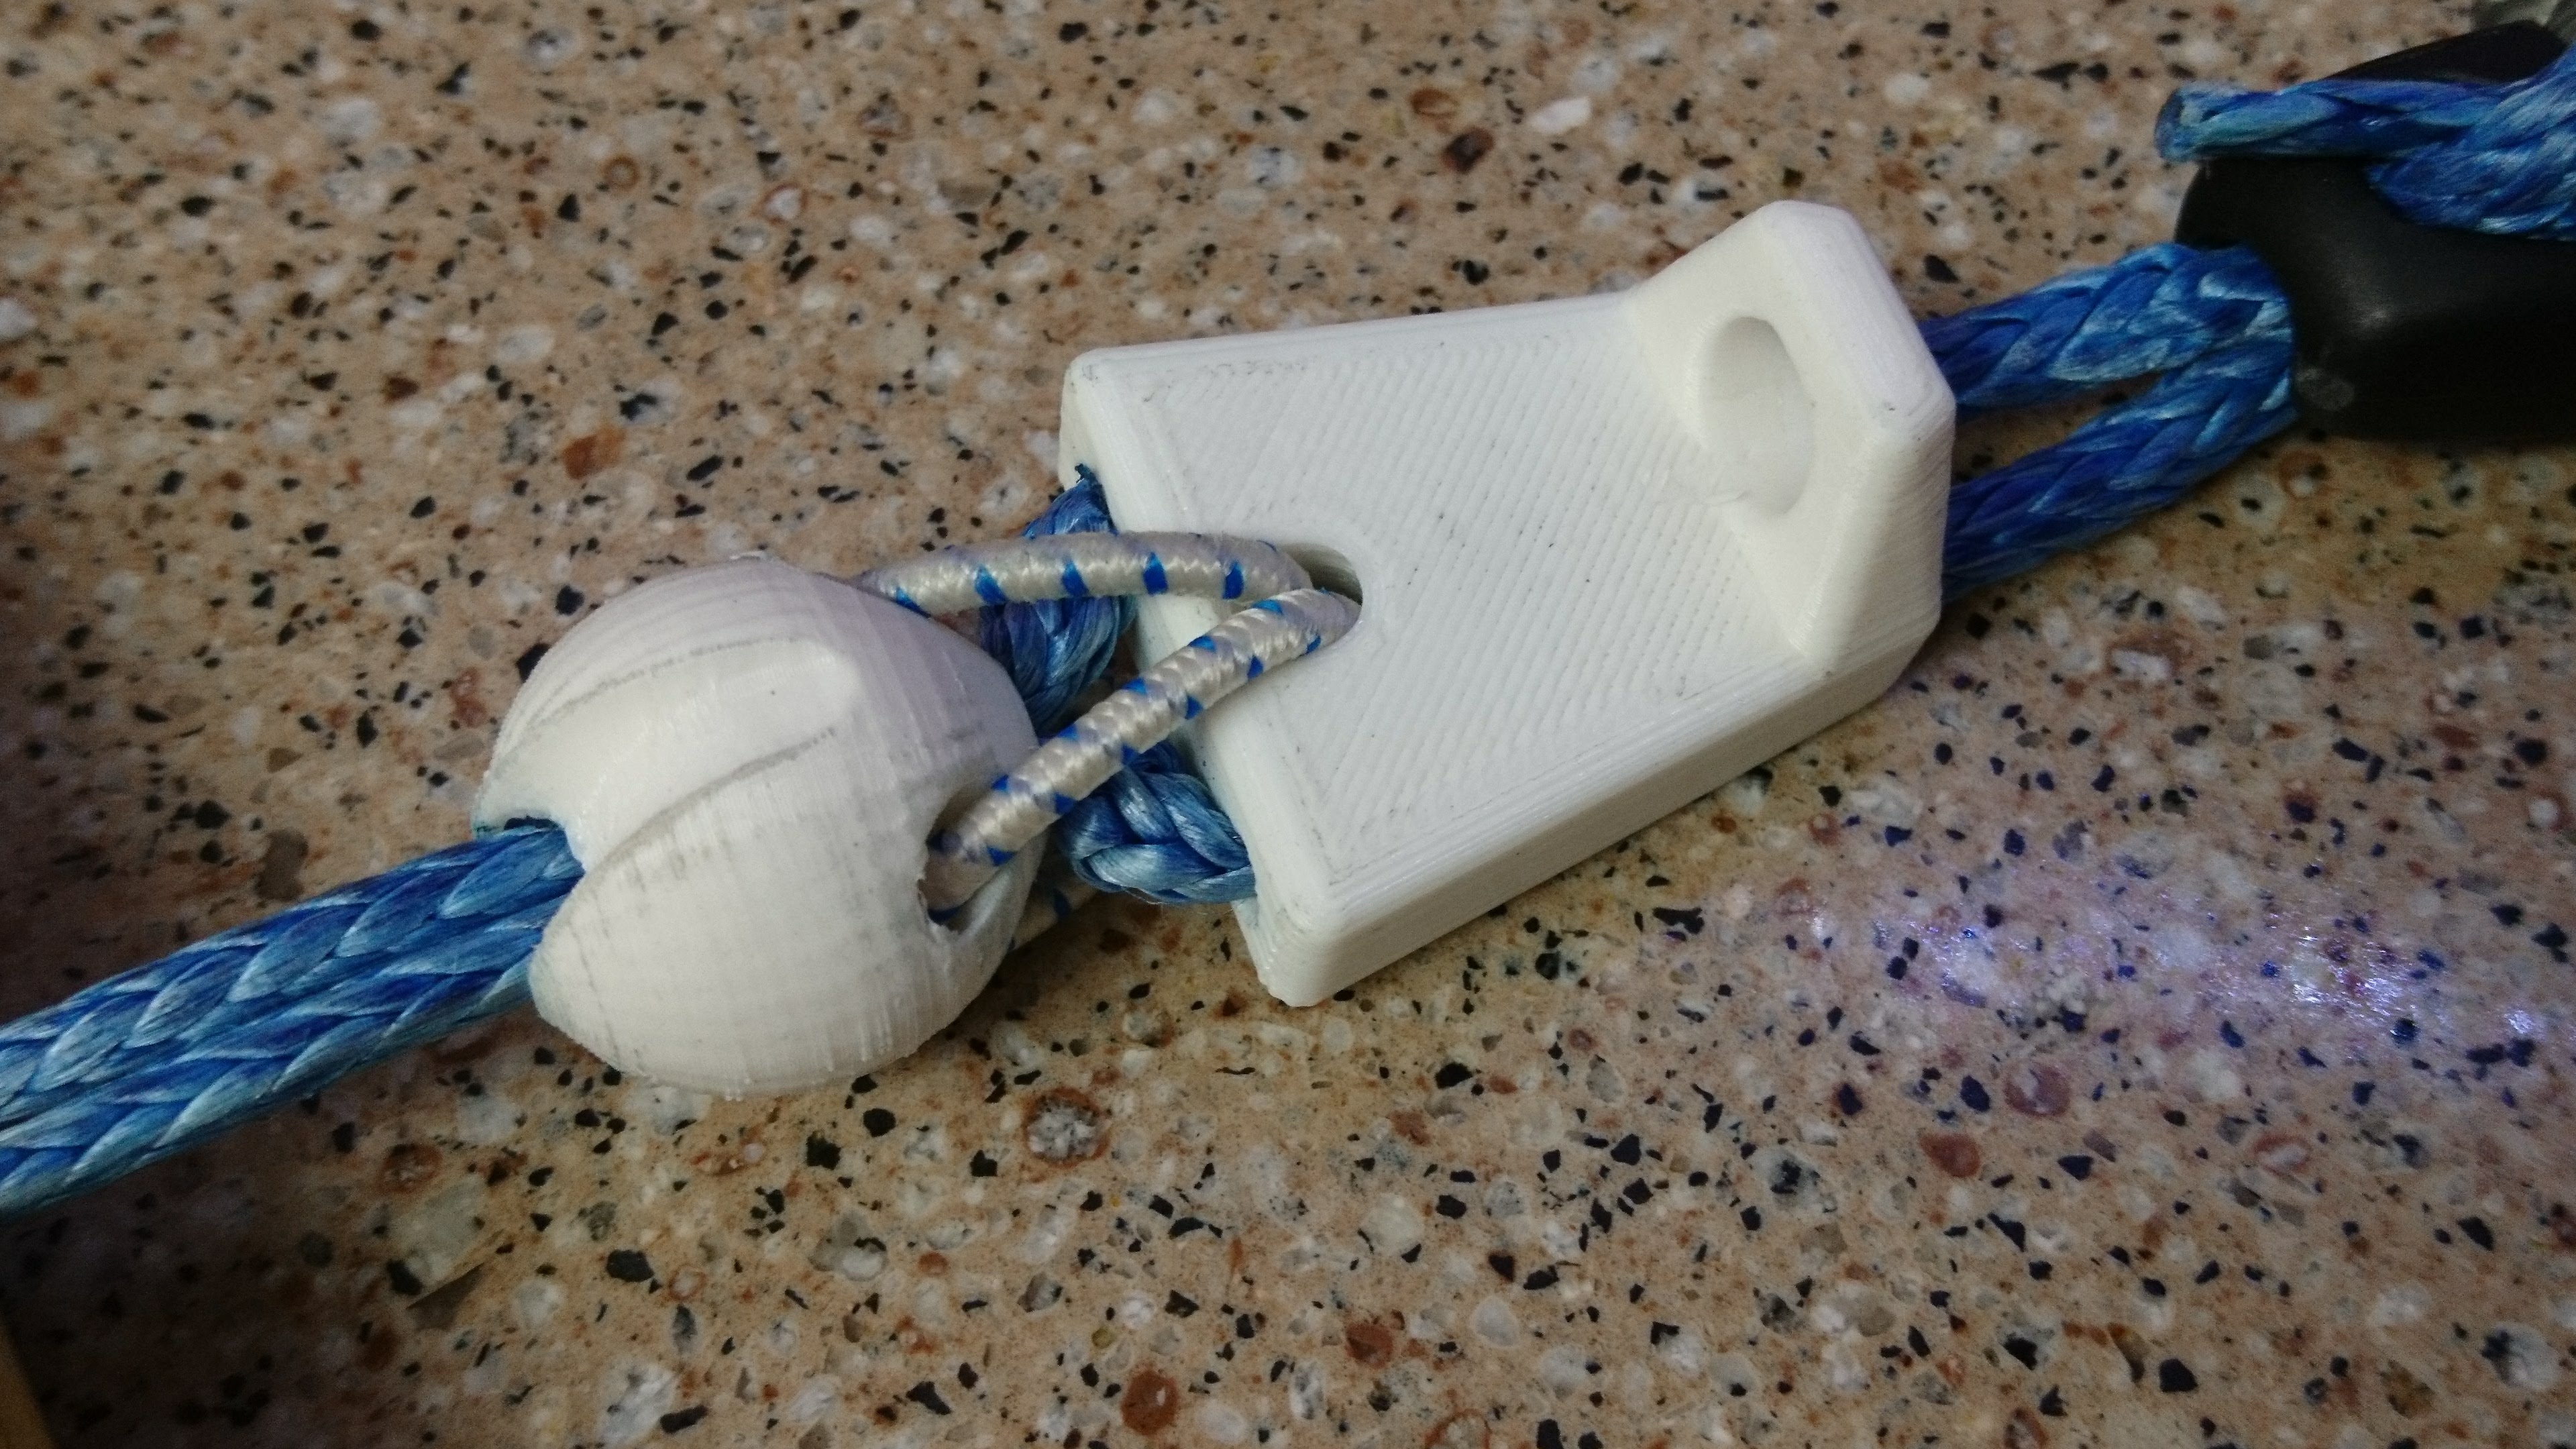
The models shown here use curved interior passages for the path the bungie follows to join the pieces. The curving paths provide a more continuous path for the bungie and improve the clearance between features. The bungie moves freely and can be threaded without a fid. The novel shapes of the passageways and the improved control of their position allows the features within a component to be closer to one another without risk of interference.
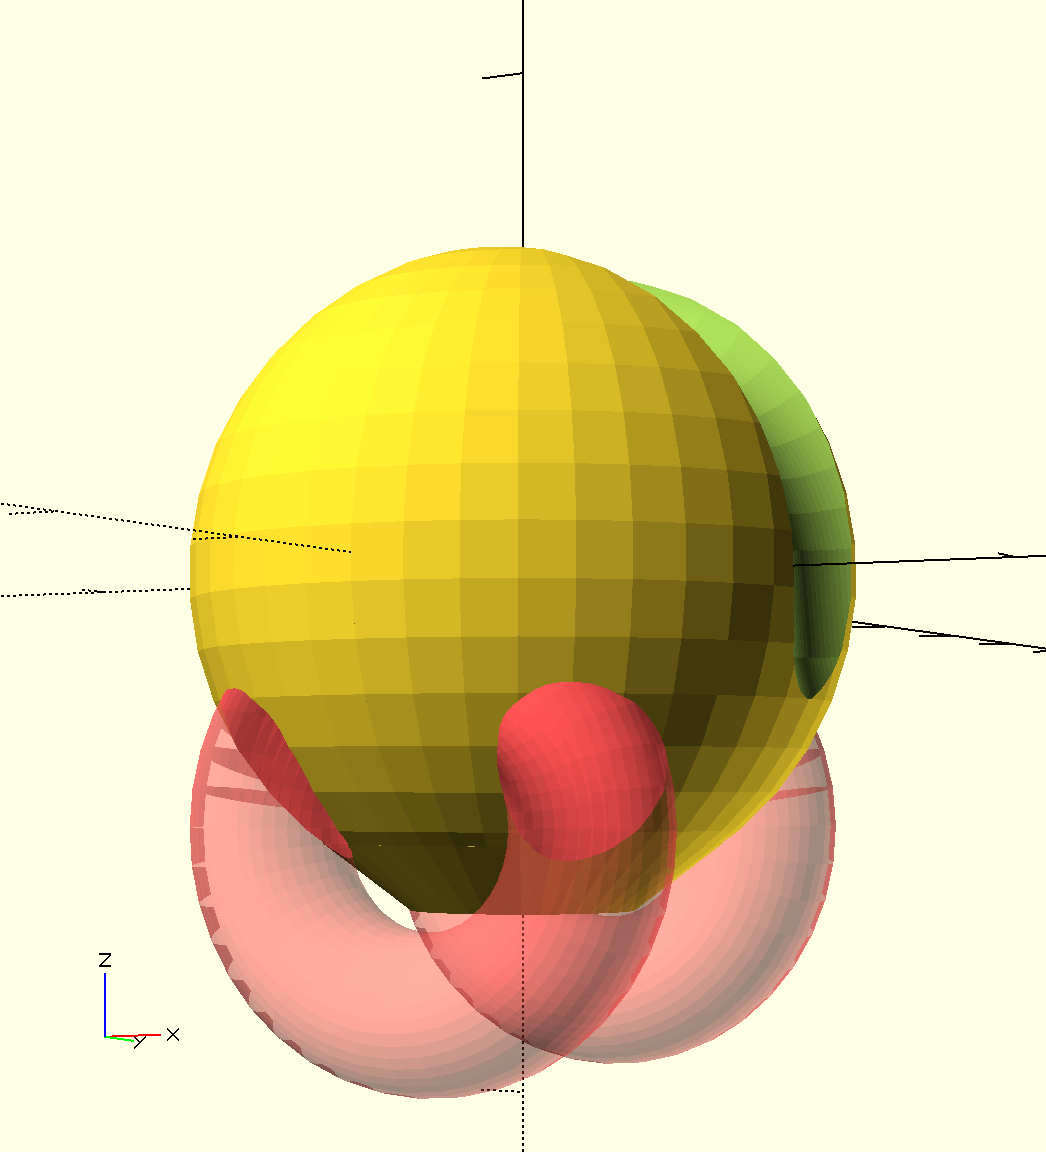
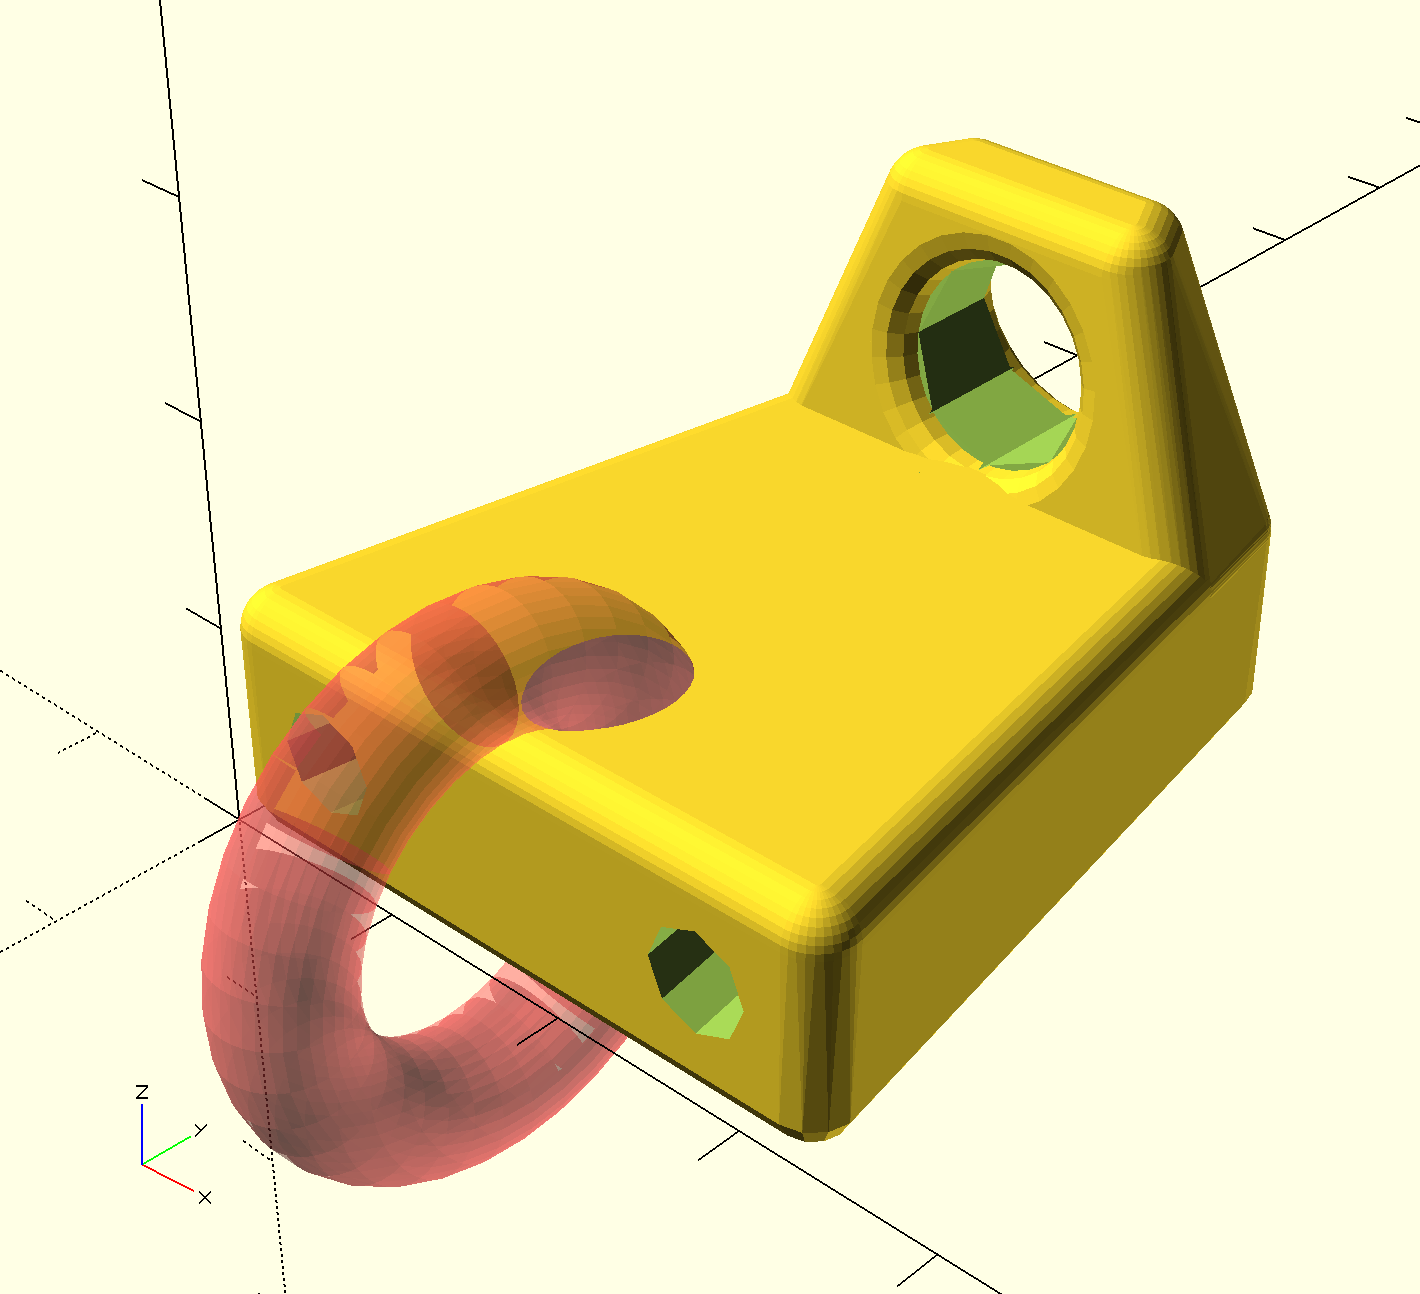
The designs shown here are accessible at https://github.com/pbchase/kite_bar_parts/tree/2018-06-10. The parts printed here are stopper_ball and stopper_block_v3. The latest versions of these and other models are always available https://github.com/pbchase/kite_bar_parts/
