How I started carving my own bars

A few of my not-so-favorite things
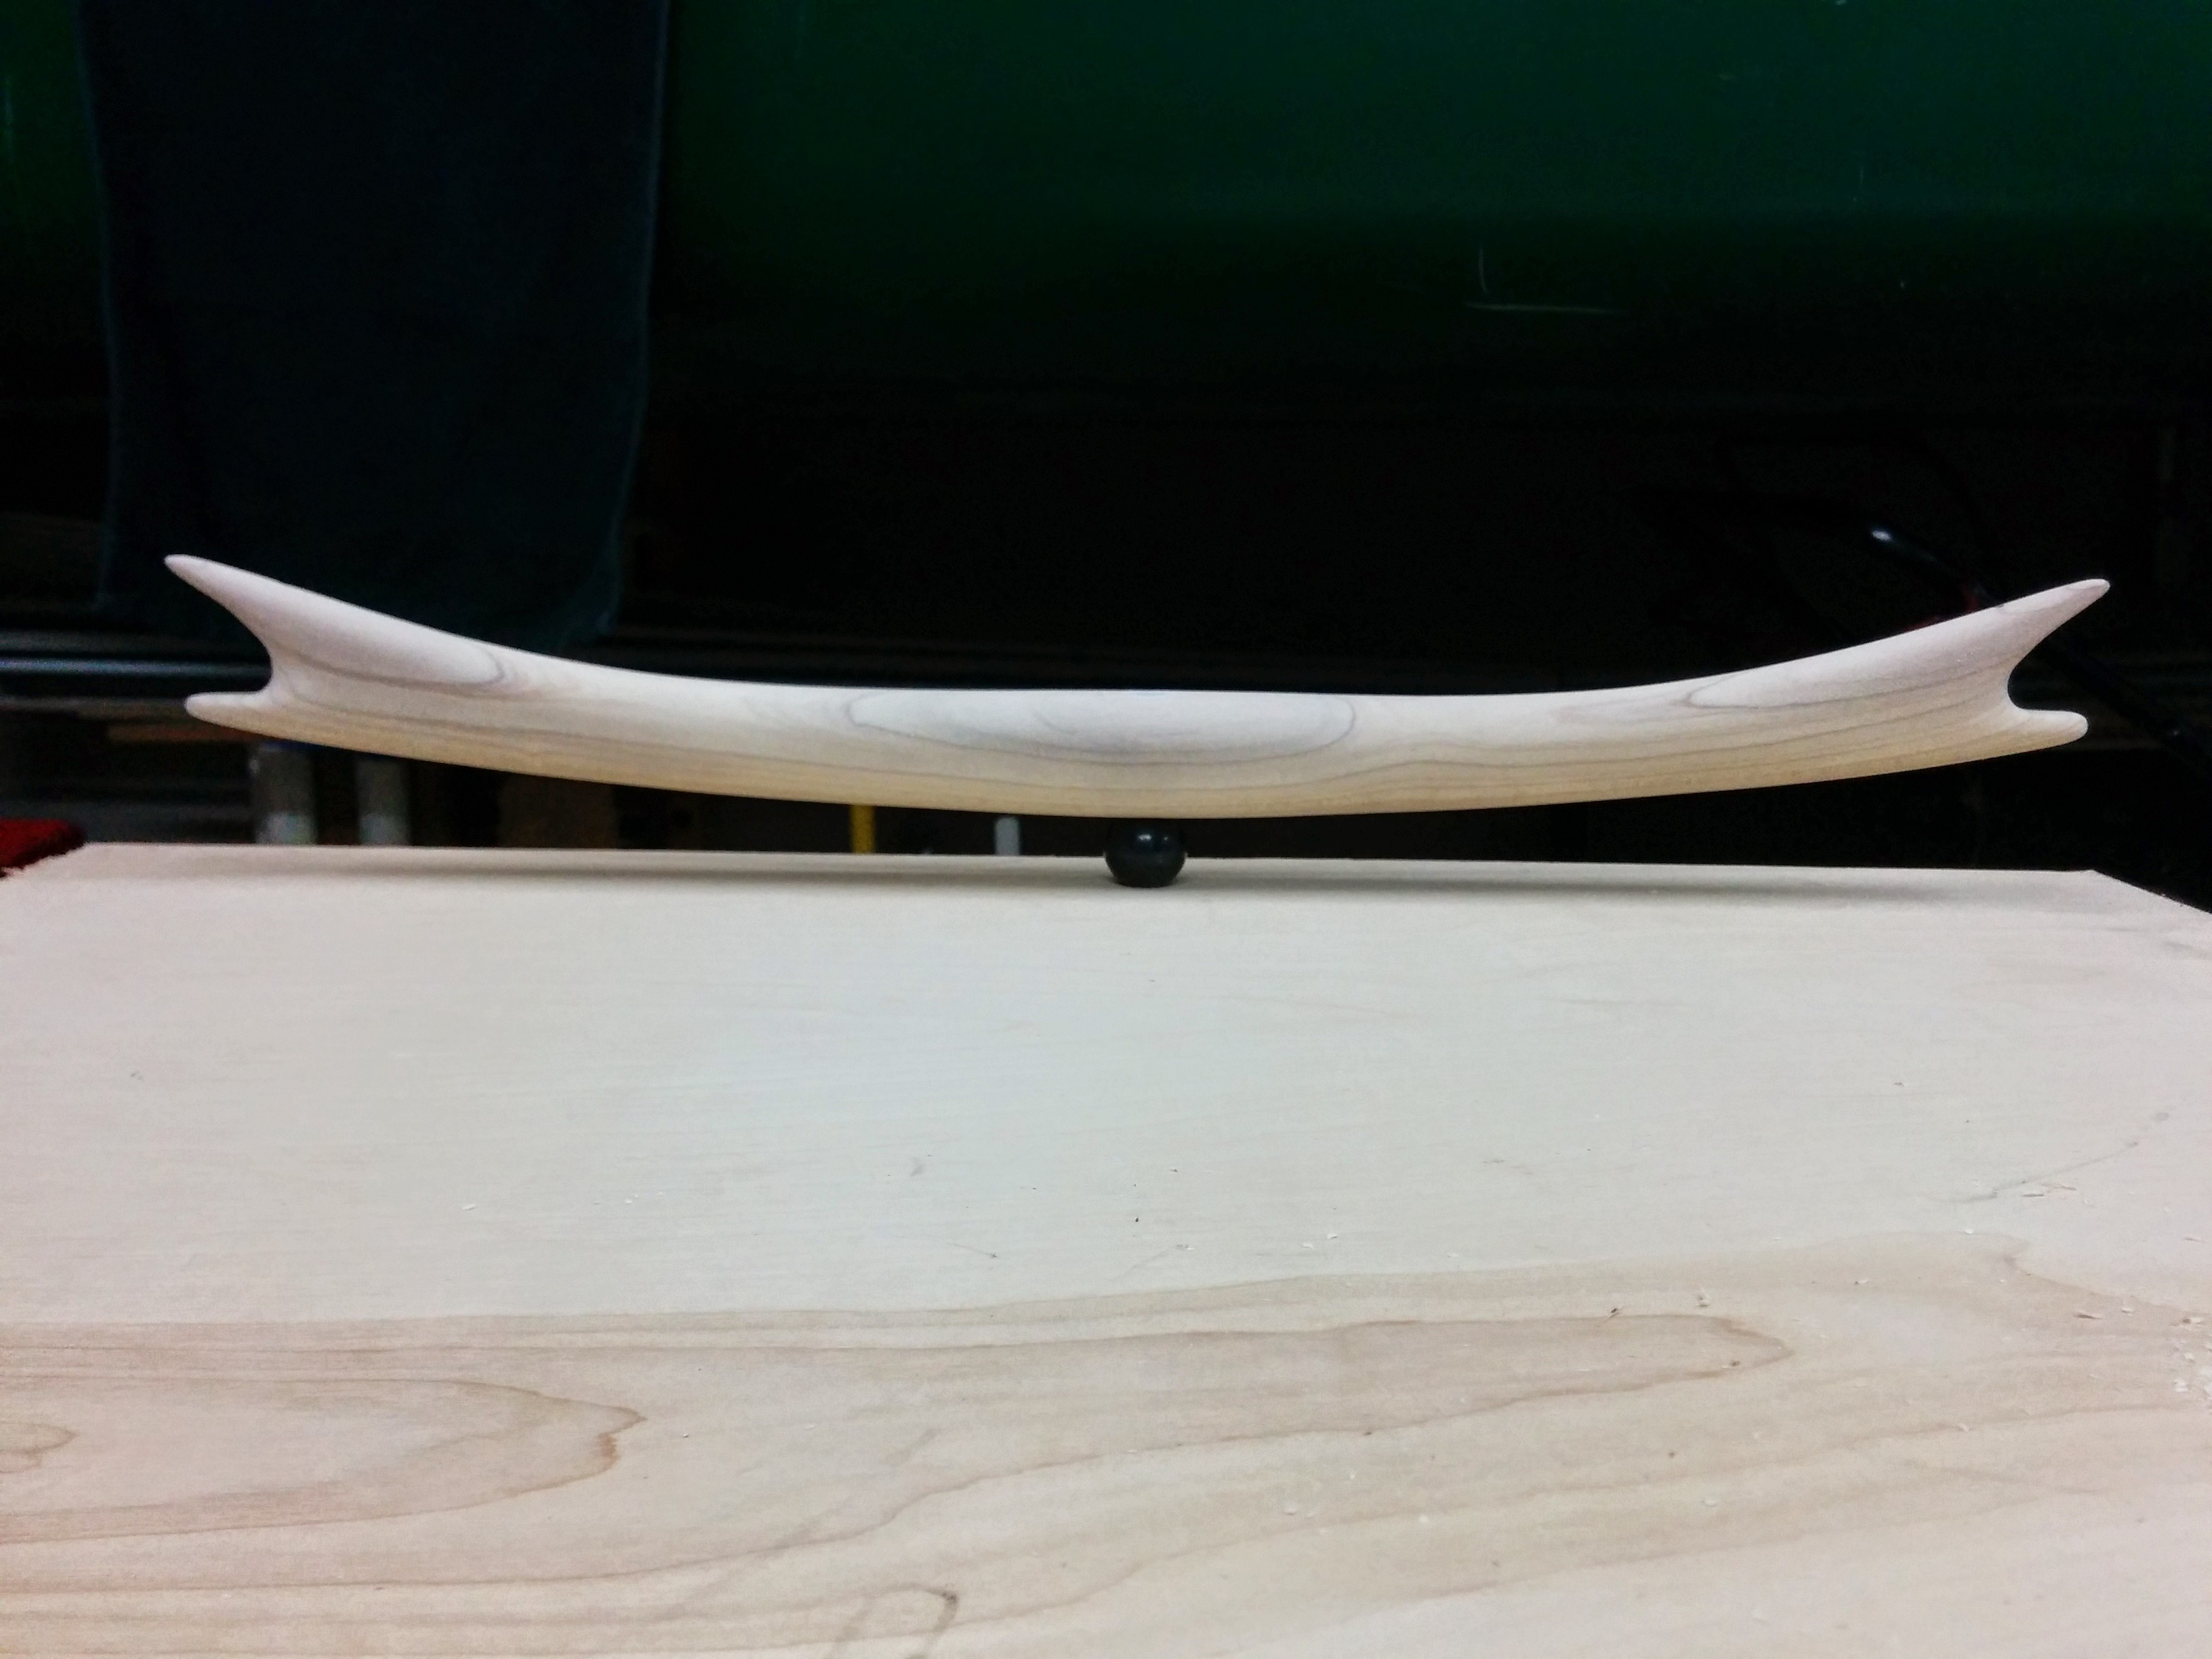
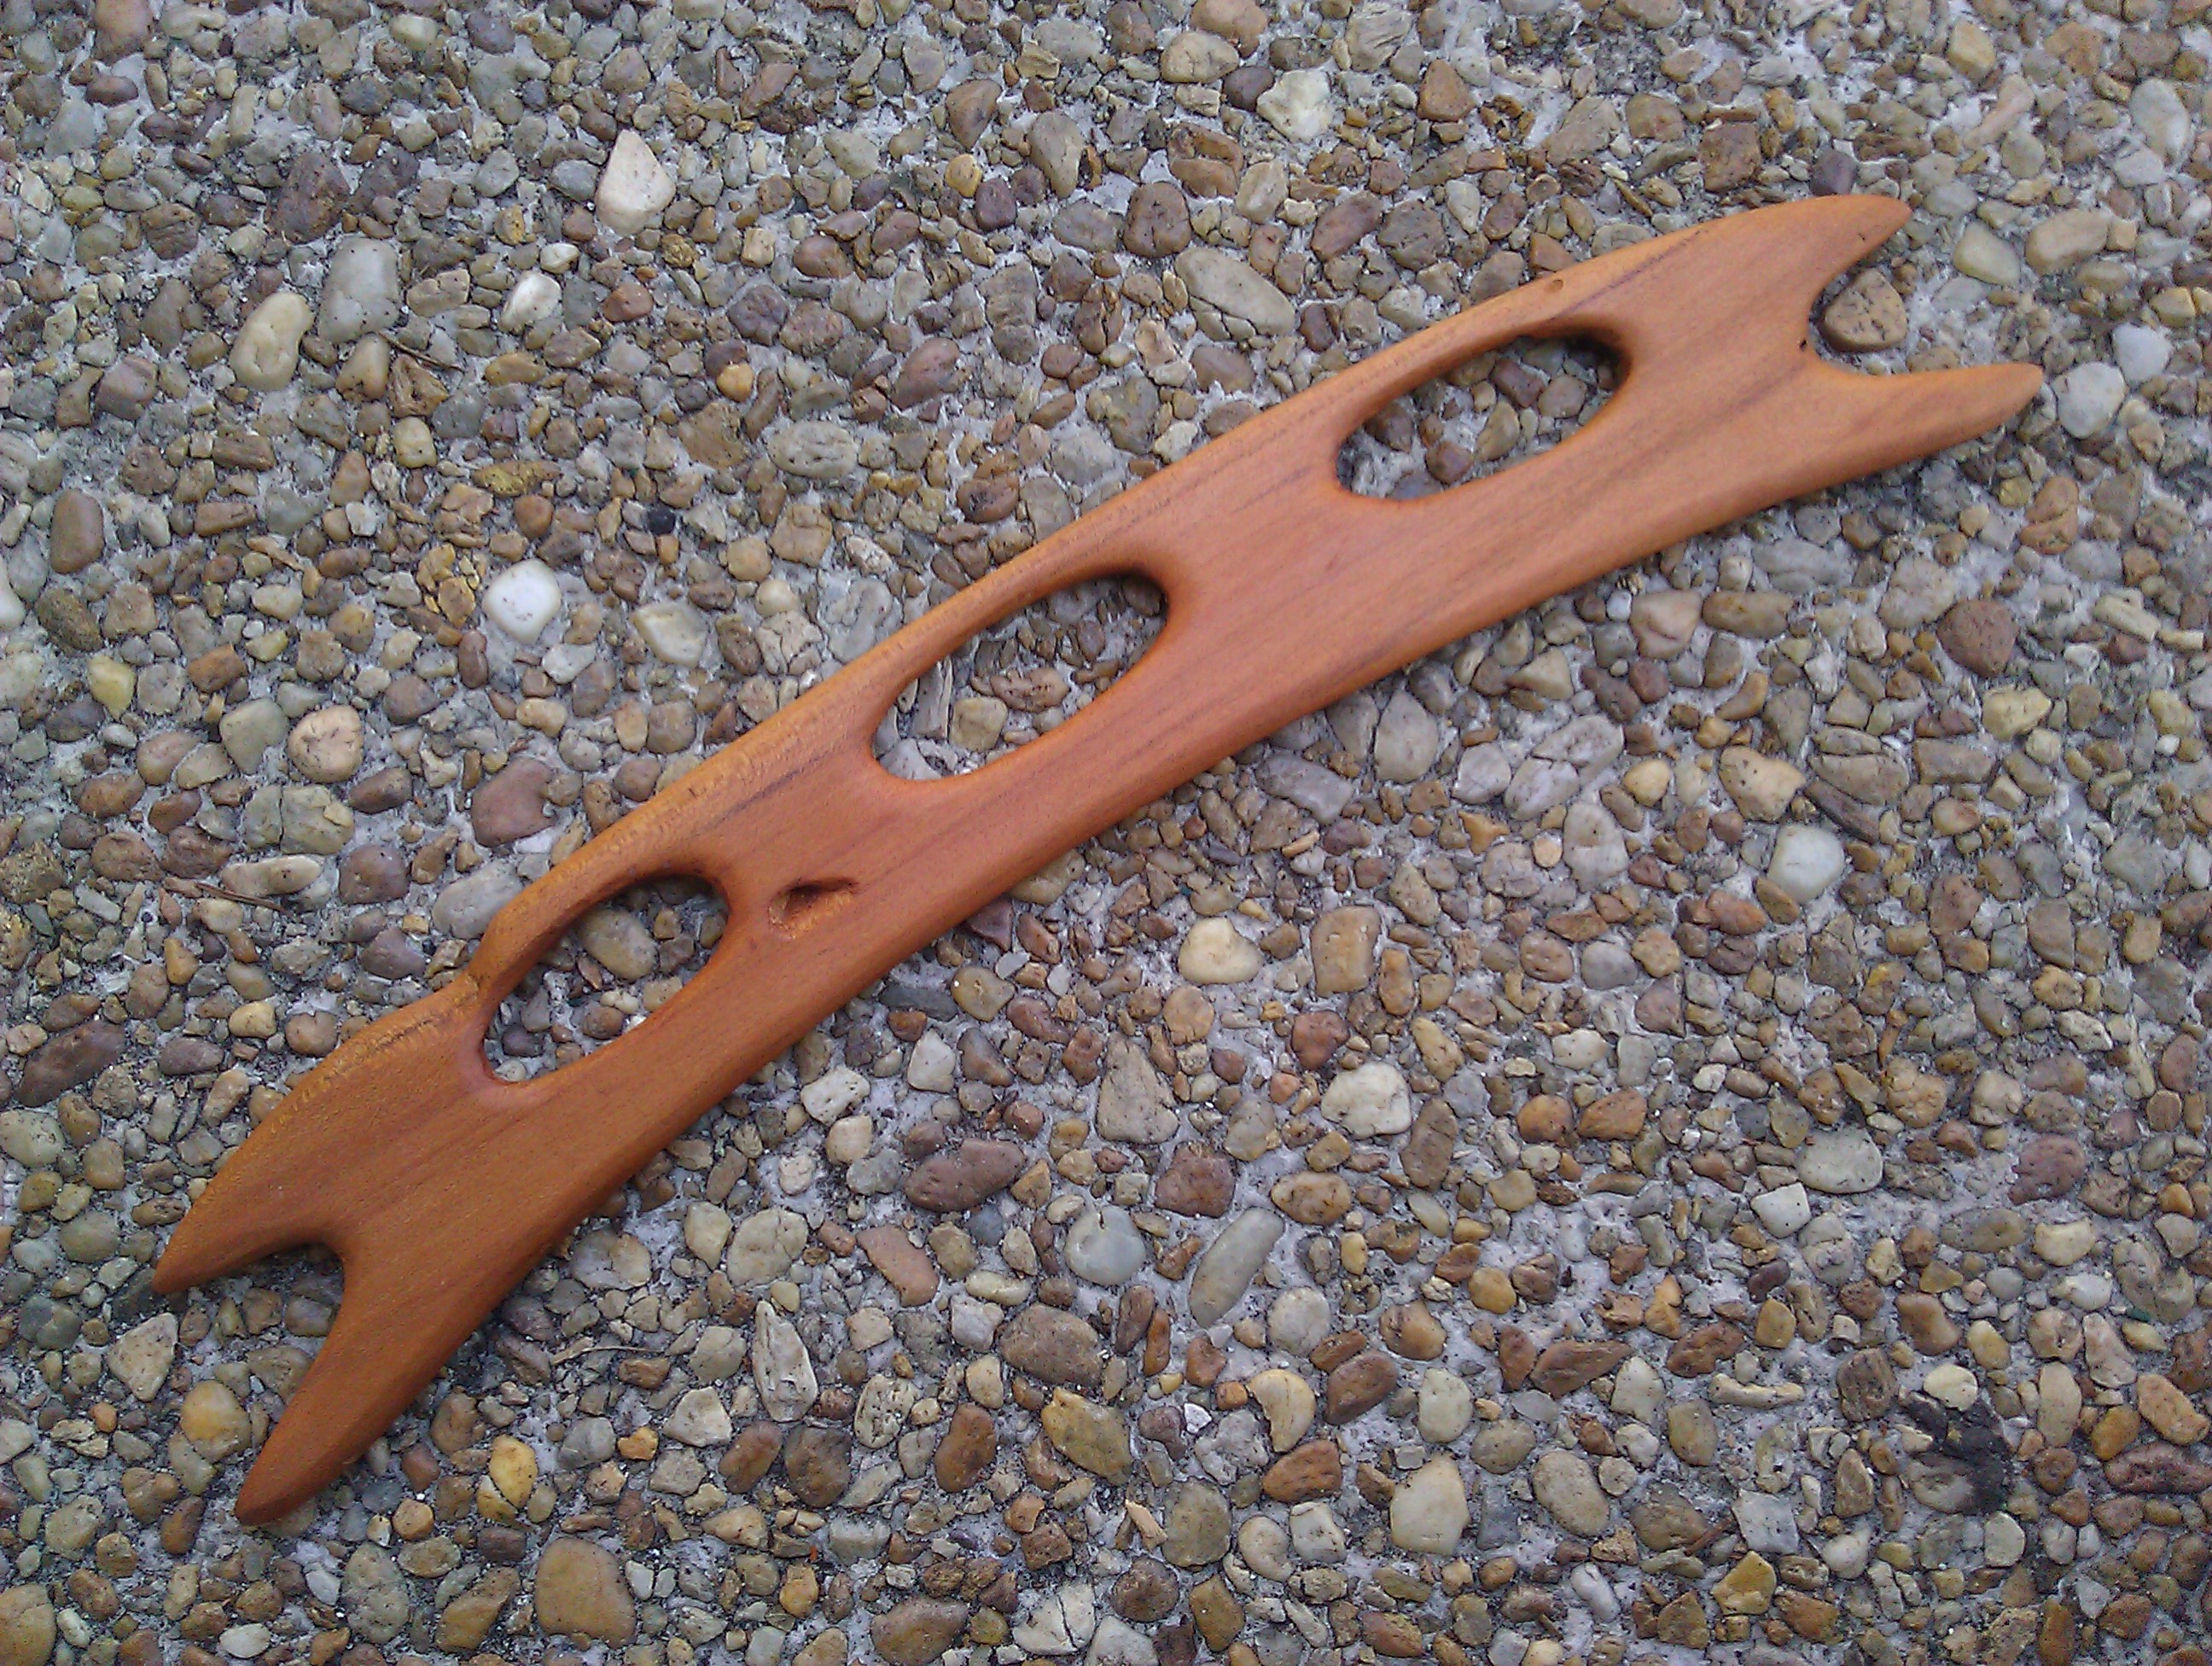
I really enjoy the wooden kite bars I have made. They’re much more comfortable then any of the commercial bars I used, they spin when I want them to spin, they don’t bind, and they are beautiful. Yet they were never part of the plan. The whole thing started on a lark. I blame Tim Elverston.
When I first started hacking on bar builds I used whatever bars I had available. I was recycling used gear form kites that came ready-to-fly and old bars I purchased off people on Power Kite Forum. It was a hodge-podge of brands and models. This gave me an opportunity to see what worked and what didn’t work so well.
It seemed that every bar had some compromise on the bore hole. Some were very small. They had been designed for a single trim line or a skinnier trim line than I was using. I started using a 5mm double trim line fairly early in the design process. In some of the bars I used this was a close fit. This was even more challenging when I started experimenting with a flag line attached to one of the top lines. The additional line thickness jammed things up even worse. What’s more, a flag line is the last thing you want jamming. When you need a flag line you need it to move unimpeded through the bar and you need it to move as fast as possible.
The kite side of the bore hole was often a compromise as well. My normal flying style is a single hand on the center of the bar. Usually it’s my leeward hand. I’ll come about, pick up speed and as I settle into the next tack I place my leeward hand at the center of the bar. I straddle the trim line with my fingers to keep the bar balanced and the kite flying straight. If the kite has any left-right imbalance, I might shift my handle by one finger left or right to balance the steering. As side form that my hand stays at the center of the bar. On a long tack my hand stays there hanging on to the bar for 10 minutes at a time. This makes the grip area immediately around the trim line very important for comfort. An edge or a small radius can pinch your fingers or cut off blood flow. Some bars have a cut-away on the left and right side of the bore hole to reduce binding during turns. Other designs have a shaped bore hole designed to interlock with the sliding stopper. I had one with a small round bore hole that would have been good but a grommet was installed in the bore hole. Any of these can rob the bar of the broad, comfortable, smooth surface around the bore hole.
One of the older bars I used had no cut-away to the left or right of the bore hole. This turns out to be a restrictive, even dangerous feature. The cut-away minimizes binding of the bar on the trim line during turns. Using a cut-away, you have the freedom to start the turn with the bar out, then sheet in during the turn. If you encounter too much power during the turn you can sheet out while still pulling hard on the left or right side of the bar. Without the cut-away the bar binds when you turn. It makes sheet adjustments nearly impossible. So if the kite pulls too hard during a turn you might be forced to abort the turn. Let’s hope the kite isn’t aiming in an inconvenient direction when that happens. By robbing the pilot of control, the bar compromises both the joy of flying and safety.
The steering line leaders on the bar I used varied. Most had floats which I didn’t need and a means of retaining the floats next to the bar which I also did not need. Most leaders adhered to the rule of aligning with upper line attachments at full power but how they did this was awkwardly inconsistent. Some had two-part leaders. Others were single-part. Some terminated in a knot on which the flying line could be larksheaded, while others used a loop. How the lines attached to the bar also varied. It was impossible to design just one leader and make it work. Every pair of leaders was custom.
Every bar I tried had some feature I didn’t like. Yet, even without bad features the variability was a curse. It meant each bar needed a slightly different constrution. I had variation with no value. It was not strength through diversity. Ultimately I settled on a bar that was not too hateful nor too expensive, but I did settle.
Shopping it around
dean jordan and Nick Skaggs were my first test pilots. Nick was using a weird cobbled-together bar that had little range and seemed to bind. dean was flying Peter Lynn ‘04 and ‘07 gear that didn’t offer a lot of bar travel. For each I restrung a bar they had with a new trim line, stopper, cleat, and pulley/ring at the top. For Nick I used the chicken loop he already had. For dean I don’t think I used a chicken loop at all. As dean’s bar didn’t require one (I’ll write more on this in a future article). At the time I knew I already had a design that could provide easier adjustment and more bar travel than what either of them were using.
Nick was very happy, but dean was downright gushing. He took his first modified bar to the annual January event at Treasure Island in 2014. He was so happy I got text messages from the beach. In March/April of 2014 we all went to the Mojave to fly. Each of us was flying with the trimline/stopper/cleat kit I designed and built and it worked great.
It was after we returned from the desert I was visiting dean when he said we had to show it to Tim. So we hopped into Sparkett and headed over.
I love Tim’s opinions on design. What’s more he’s married to Ruth Whiting who has also has a great eye for form, function and beauty. They are each a mix of artist, designer, maker, and engineer. So when you show them something new you are going to get some good input. You might not like what you hear, but you should listen.
Tim and Ruth are a curious pair. They make all kinds of stuff. What’s obvious to the anyone who’s looked at their web site (windfiredesigns.com in case you didn’t know) is that they make kites, kite accessories, maker’s tools, and some random things. What’s not so apparent unless you hangout with them is their propensity for making all kinds of stuff. I think part of it is just creative expression mixed with the skills to design and make something themselves. Yet there is also an impatience with products that are designed for someone else or products that could be beautiful but are merely functional. It’s not unlike my own experience in this project, but I think it is more pronounced for them than me.
dean and I both felt Tim and Ruth needed bars. Their kite buggy gear was centered around kites from the previous generation of design. They are beautiful kites they built themselves. They fly well and they buggy well, but the technology had already advanced. When we went flying they just couldn’t keep up with our gear. Tim had an F-Arc dean had given him, but it wasn’t rigged. I figured my contribution to the fun would be to fix Tim and Ruth up with good rigging.
So I had high hopes when I showed Tim the bar. When I handed it to him he liked my work, but ultimately his eyes settled on the commercial bar and he said, “I can’t fly this”.
I was disappointed and a bit defeated. I thought I had nailed the design, but Tim saw the plastic bar for what it was. I had settled. I didn’t like the bar either, but it got the job done so I accepted it. I didn’t have an alternative so I used the bar that was good enough and cheap enough. I had focused so much on the details of the rigging I hadn’t spent much time thinking about the one piece the pilot interacts with the most. It took Tim’s fresh perspective to remind me the bar was a compromise. It wasn’t just the marginal features that were the problem. The bar was an ugly, injection molded, foam covered piece of junk. As dean and I drove back to his house I was lost in thought about how to make a bar of my own.
The solution
In this same time frame I had been making string winders from scrap wood. I needed some winders and I had lots of wood leftover from projects so I started carving winders freehand. Some were a lot prettier than the others. As I studied what I liked and disliked about them, I started drawing beziers in Inkscape. This gave me the flowing curves I longed for in the wood. I settled on a design that had a long gentle curve along its length with sharper curves at the end to bend the string-holding knotches away from the grip in the middle. I printed a template from the design, glued it to a thin plank, cut it out on a scroll saw and shaped it. The end result was as pretty as the template and worked great.

This was the idea that inspired my wooden bars.
